
Set up the virtual Guardian appliance#
On-premises, Guardian runs as a virtual appliance on your own infrastructure. You size it, import it into VMware and give it a network address and hostname; Guardian Support then installs and configures the application with you.
Applies to: Guardian Classic On-premises only
The appliance arrives as an Open Virtual Appliance (OVA) and runs as a secure, self-contained virtual machine. It's a black box: only the Guardian team can change its internal configuration.
Before you start#
- The appliance format is agreed. It's an OVA unless you've arranged otherwise with your Guardian representative.
- You have the download link. If not, ask your Technical Account Manager.
- The ports are open.
- The VM meets the sizing for your node count.
Ports#
The appliance must be reachable over HTTPS on port 443 from:
- every Agent and Connection Manager
- everyone who uses the Guardian web application
How many Connection Managers you need
It depends on what each Connection Manager scans. Scanning on-premises servers and devices over WinRM or SSH puts a much heavier load on a Connection Manager than interrogating cloud services through their APIs, so plan for:
| What the Connection Manager scans | Nodes per Connection Manager |
|---|---|
| On-premises servers and devices, over WinRM or SSH | 100 to 150 |
| Cloud services, through their APIs (AWS, Azure, GCP) | 1,000 to 1,500 |
If you scan both, size each Connection Manager group for what it scans. Your Guardian Representative can help with capacity planning.
Sizing#
| Nodes | Up to 1,000 | 1,001 to 5,000 | 5,001 to 10,000 |
|---|---|---|---|
| CPU | 8 cores | 16 cores | 32 cores |
| Memory | 32 GB | 64 GB | 128 GB |
| Disk A | Default | Default | Default |
| Disk B | 150 GB | 500 GB | 1 TB |
| Disk C | 150 GB | 500 GB | 1 TB |
| Disk D | 100 GB | 100 GB | 100 GB |
| Disk E | 100 GB | 100 GB | 100 GB |
For more than 10,000 nodes, talk to your Technical Account Manager.
Import the appliance#
- Download the appliance from the link Cloudhouse sent you.
- Import it into your VMware environment.
- Shut the virtual machine down and start it again. On restart, DHCP gives the appliance an IP address (see Use DHCP).
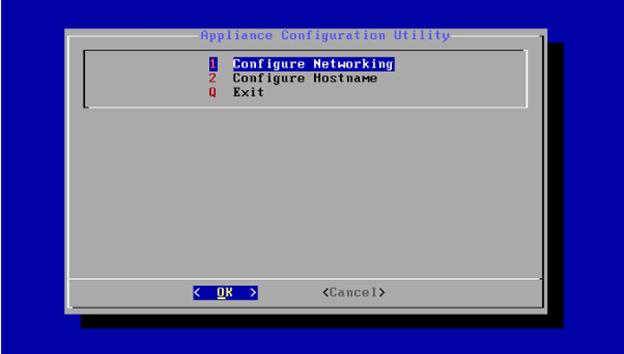
- Press Alt+F9 (Fn+Alt+F9 on a Mac) to open the Appliance Configuration Utility.
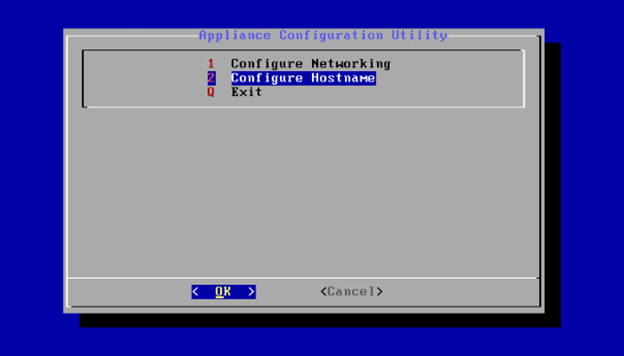
The utility offers Configure Networking, Configure Hostname and Exit.
Configure networking#
The appliance needs an IP address, by DHCP or a static configuration.
-
In the Appliance Configuration Utility, select Configure Networking.
-
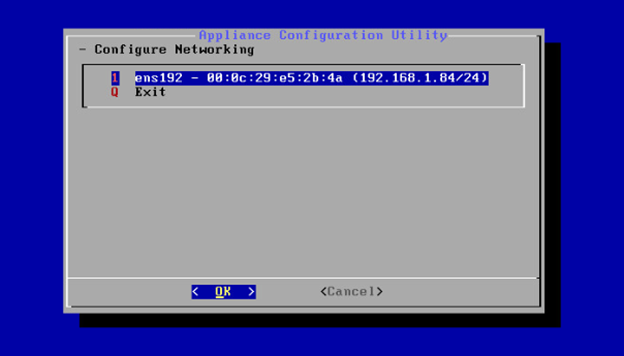
Select the only network interface listed, then select OK.
-
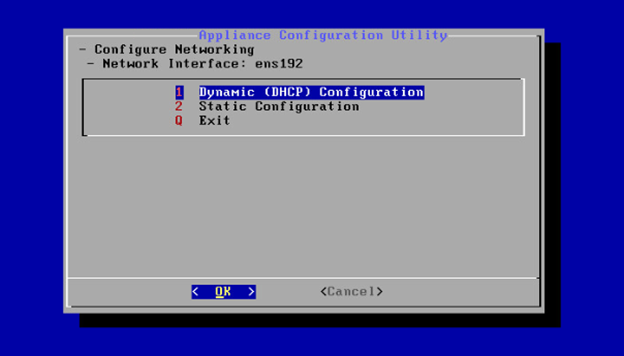
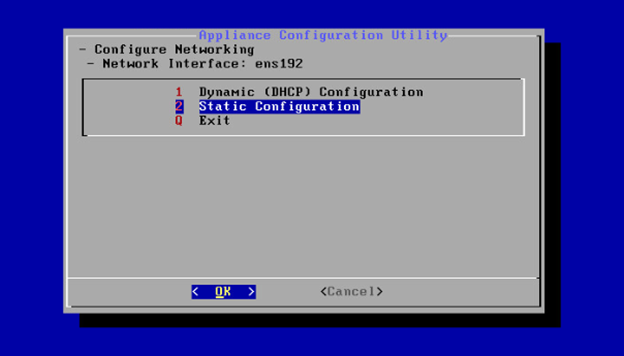
On Network Interface, choose Dynamic (DHCP) Configuration or Static Configuration, then follow the matching section below.
Use DHCP#
DHCP is the default: the appliance gets an address the first time it restarts, with nothing to configure.
-
On Network Interface, select Dynamic (DHCP) Configuration, then OK.
-
Go back to Configure Networking and note the IP address, shown in the interface name: for example,
ens192 - 00:0c:29:e5:2b:4a (192.168.1.84/24).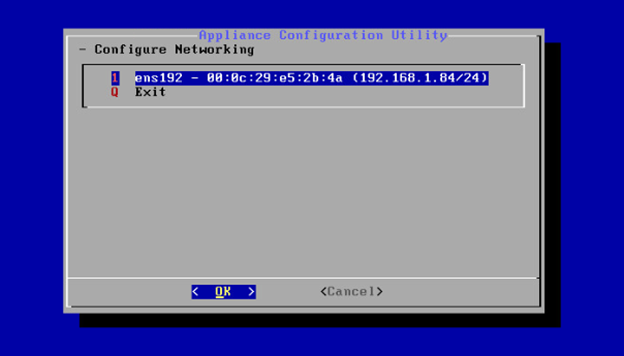
Use a static IP address#
A static address only changes when you change it.
-
On Network Interface, select Static Configuration, then OK.
-
Fill in the fields:
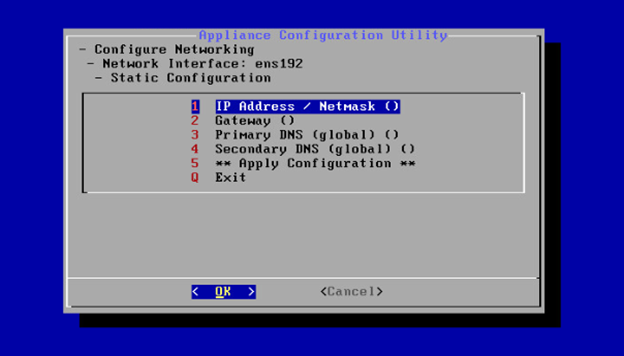
Field Enter IP Address / Netmask The appliance's address, with its CIDR suffix, for example 192.168.1.84/24. The suffix is required.Gateway The gateway the appliance uses. Primary DNS (global) The appliance's primary DNS server. Secondary DNS (global) The appliance's secondary DNS server. -
Select Apply Configuration.
- Reset the virtual machine from VMware so it picks up the new configuration.
Set the hostname#
The hostname identifies the appliance on your network and is used when it's registered with Guardian.
-
In the Appliance Configuration Utility, select Configure Hostname.
-
Enter the Hostname. Once the appliance is registered, it appears as
Appliance.<hostname>.org.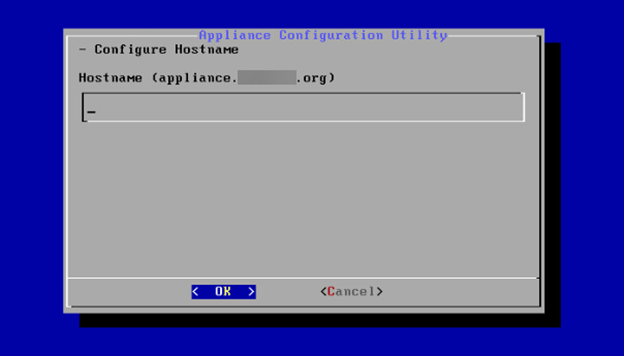
-
Select OK, then exit the utility.
Set it from a browser instead
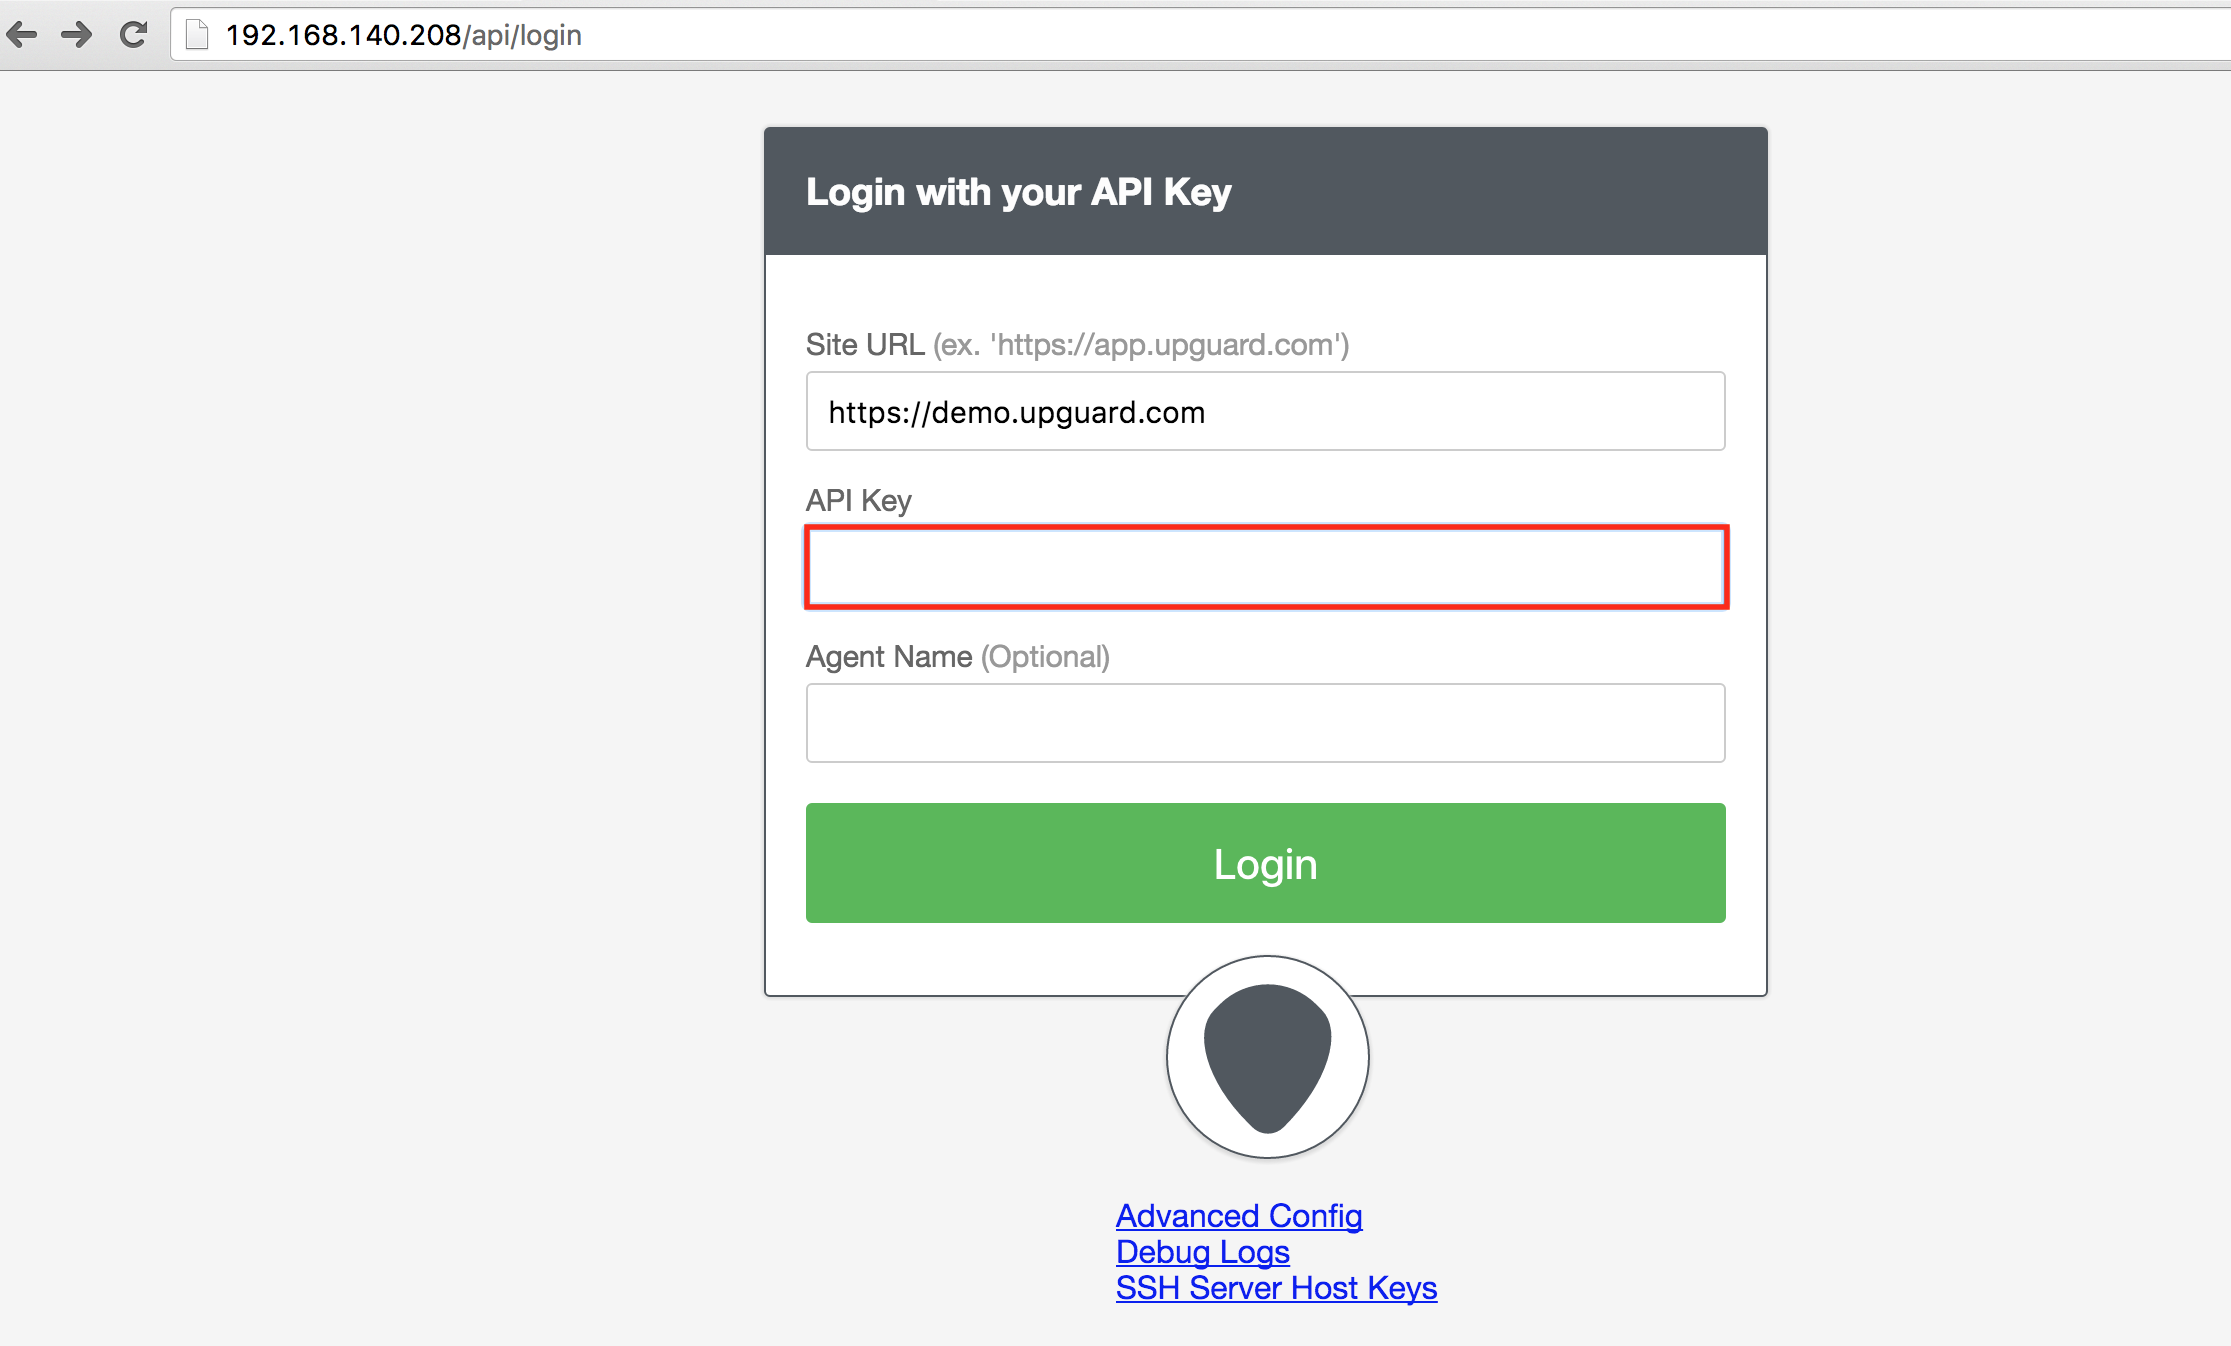
Once the appliance has an IP address, you can also set the hostname in its web interface. Browse to the address followed by /api/login (for example, 192.168.140.208/api/login) and sign in with your API key.
What happens next#
Tell your Guardian representative the appliance is ready. They'll work with you to finish provisioning and install the application. To keep it healthy afterwards, see Appliance maintenance.