
Edit an environment#
Change an environment's settings and node rules.
Applies to: Guardian Classic
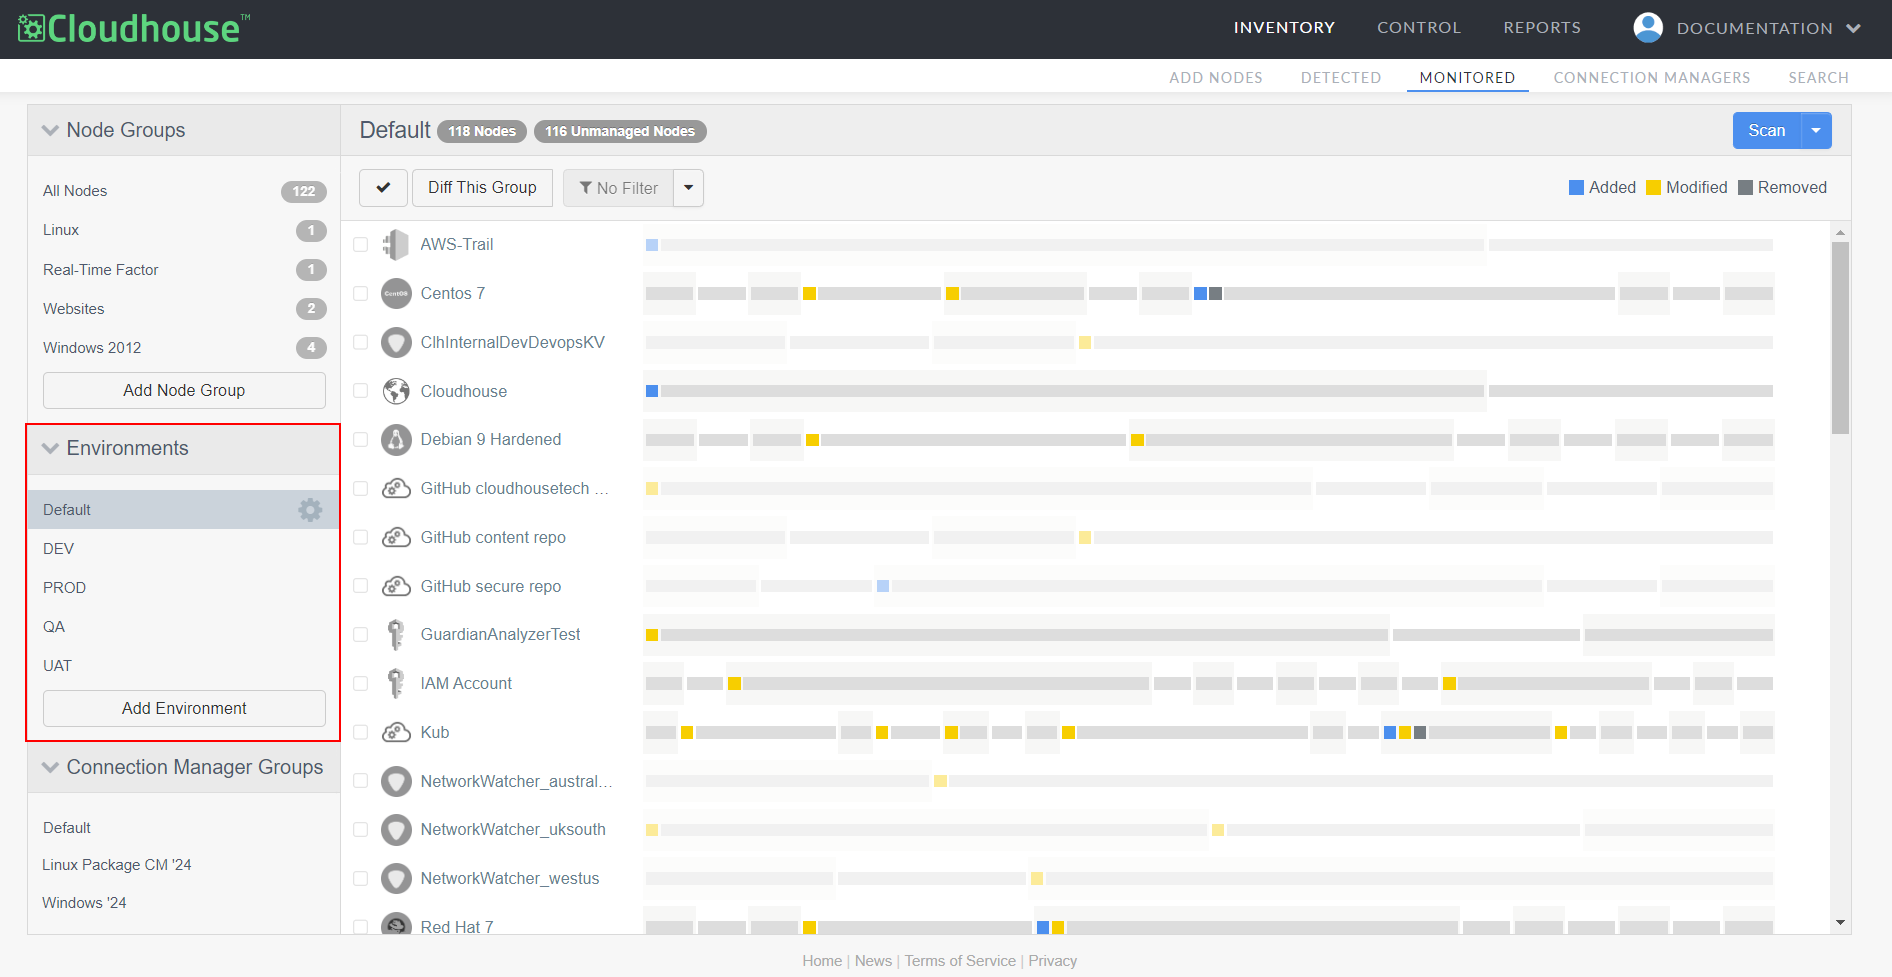
To edit an existing environment, complete the following steps:
-
In the Guardian web application, navigate to the Monitored tab (Inventory > Monitored). By default, all currently monitored nodes are displayed.
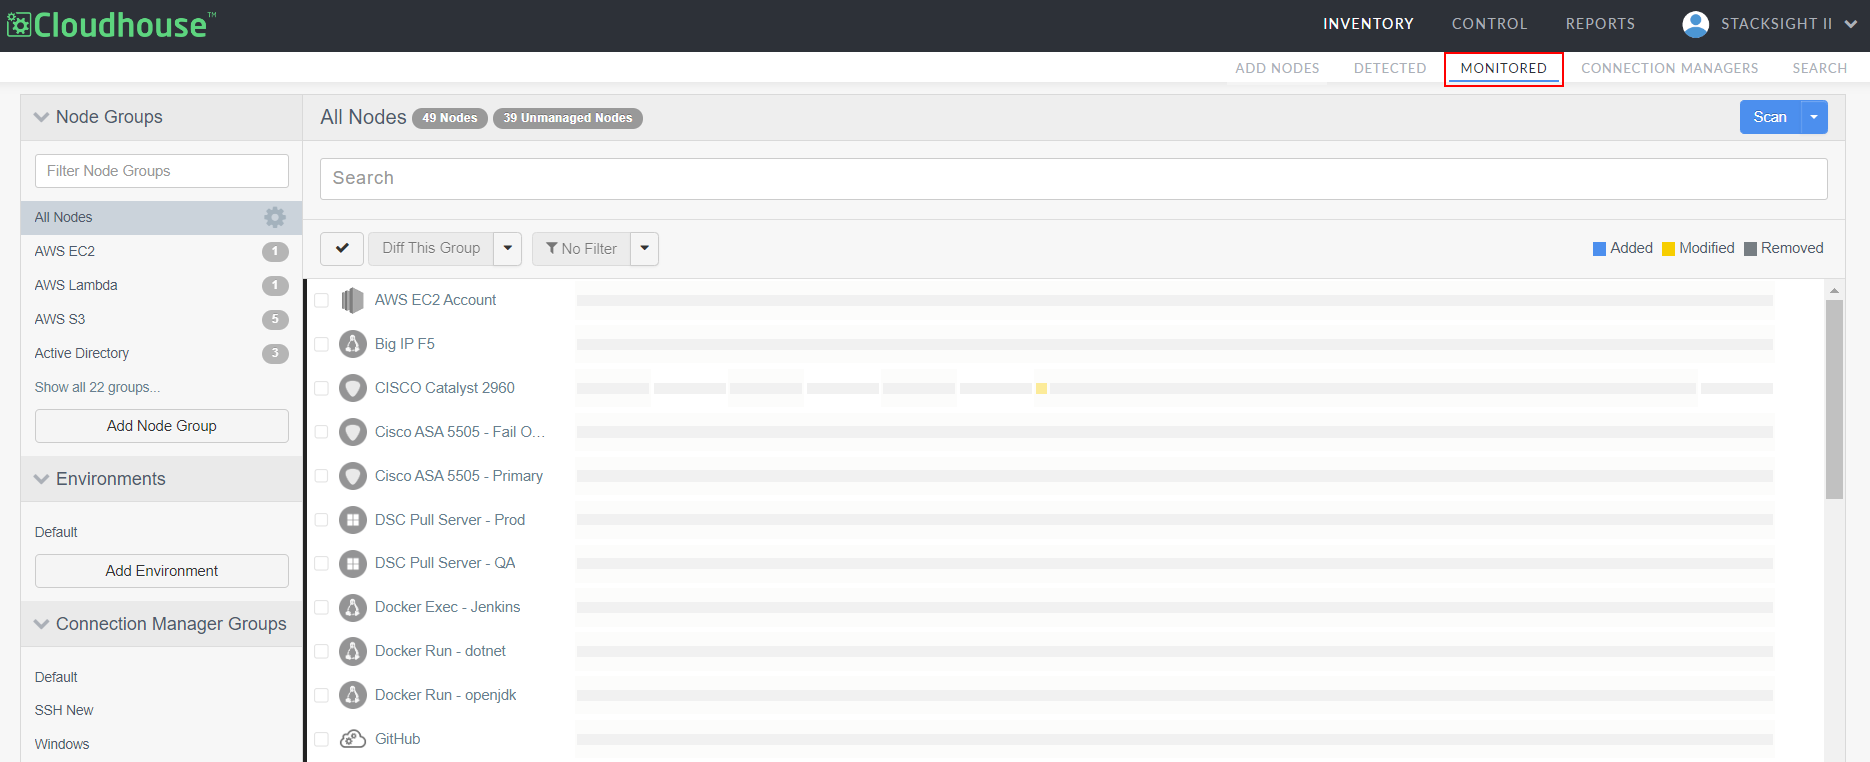
-
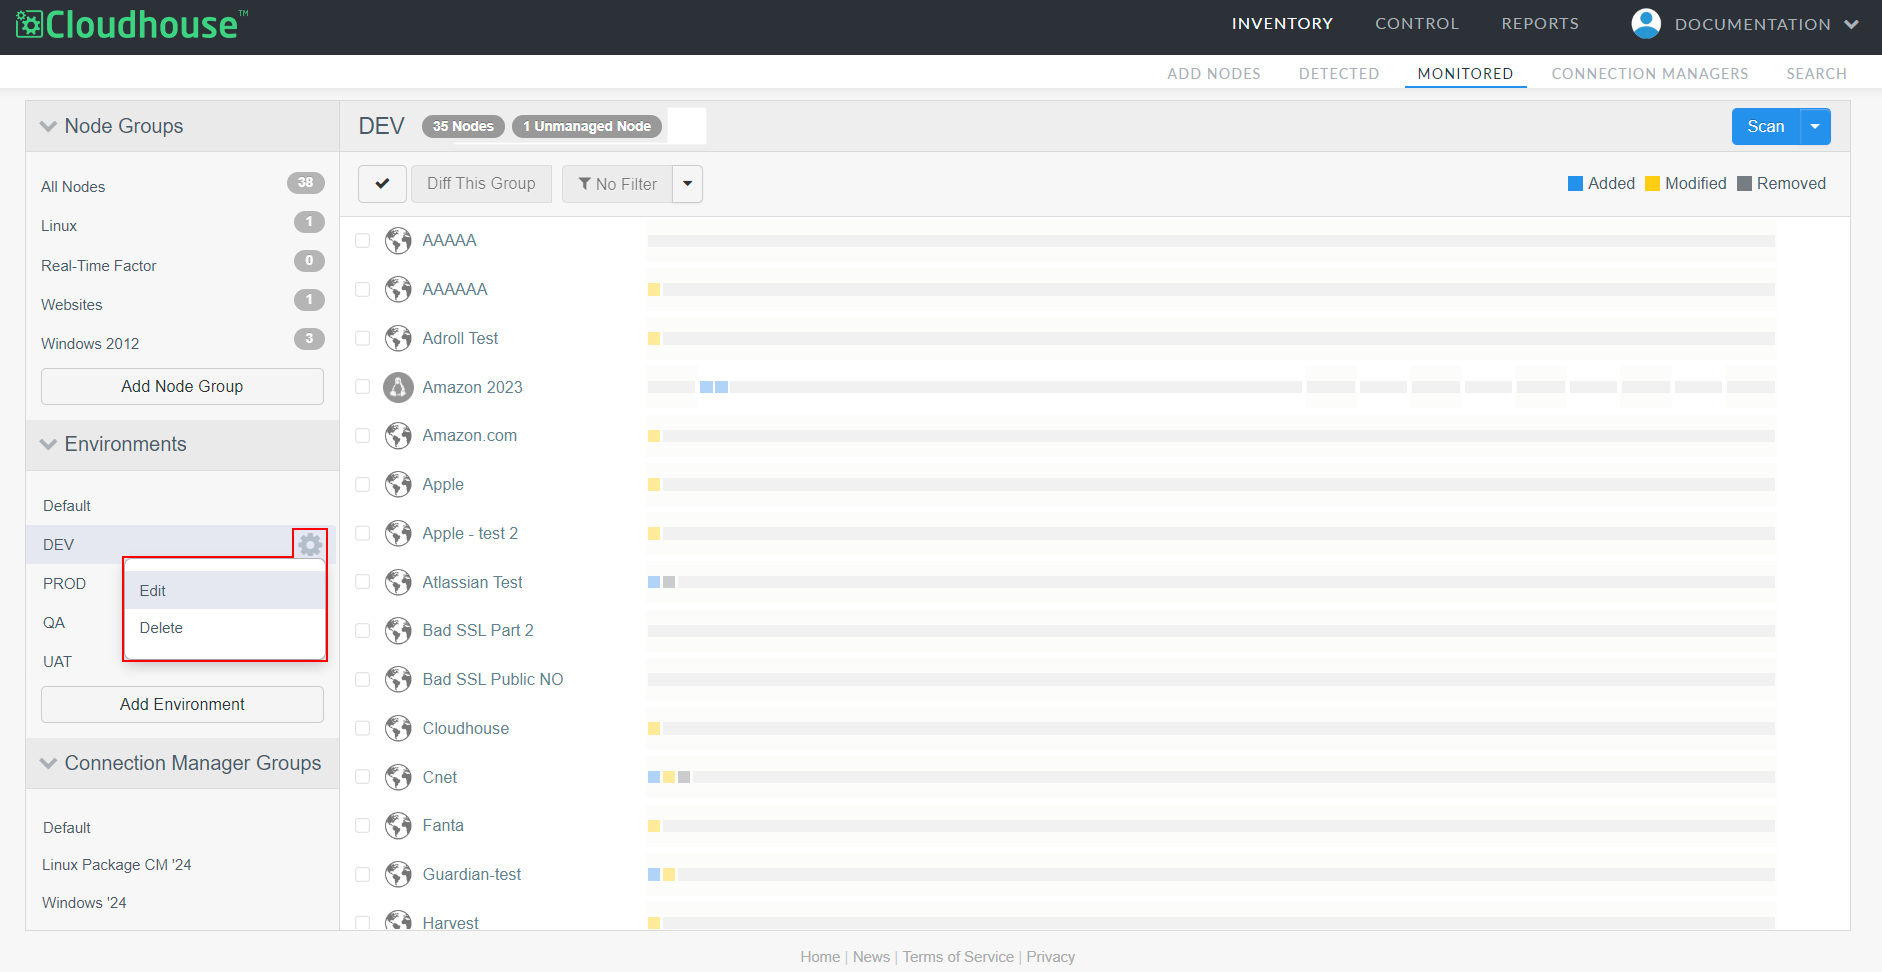
In the Environments drop-down menu, select the environment you want to edit. Then, click the Settings button (
 ).
-
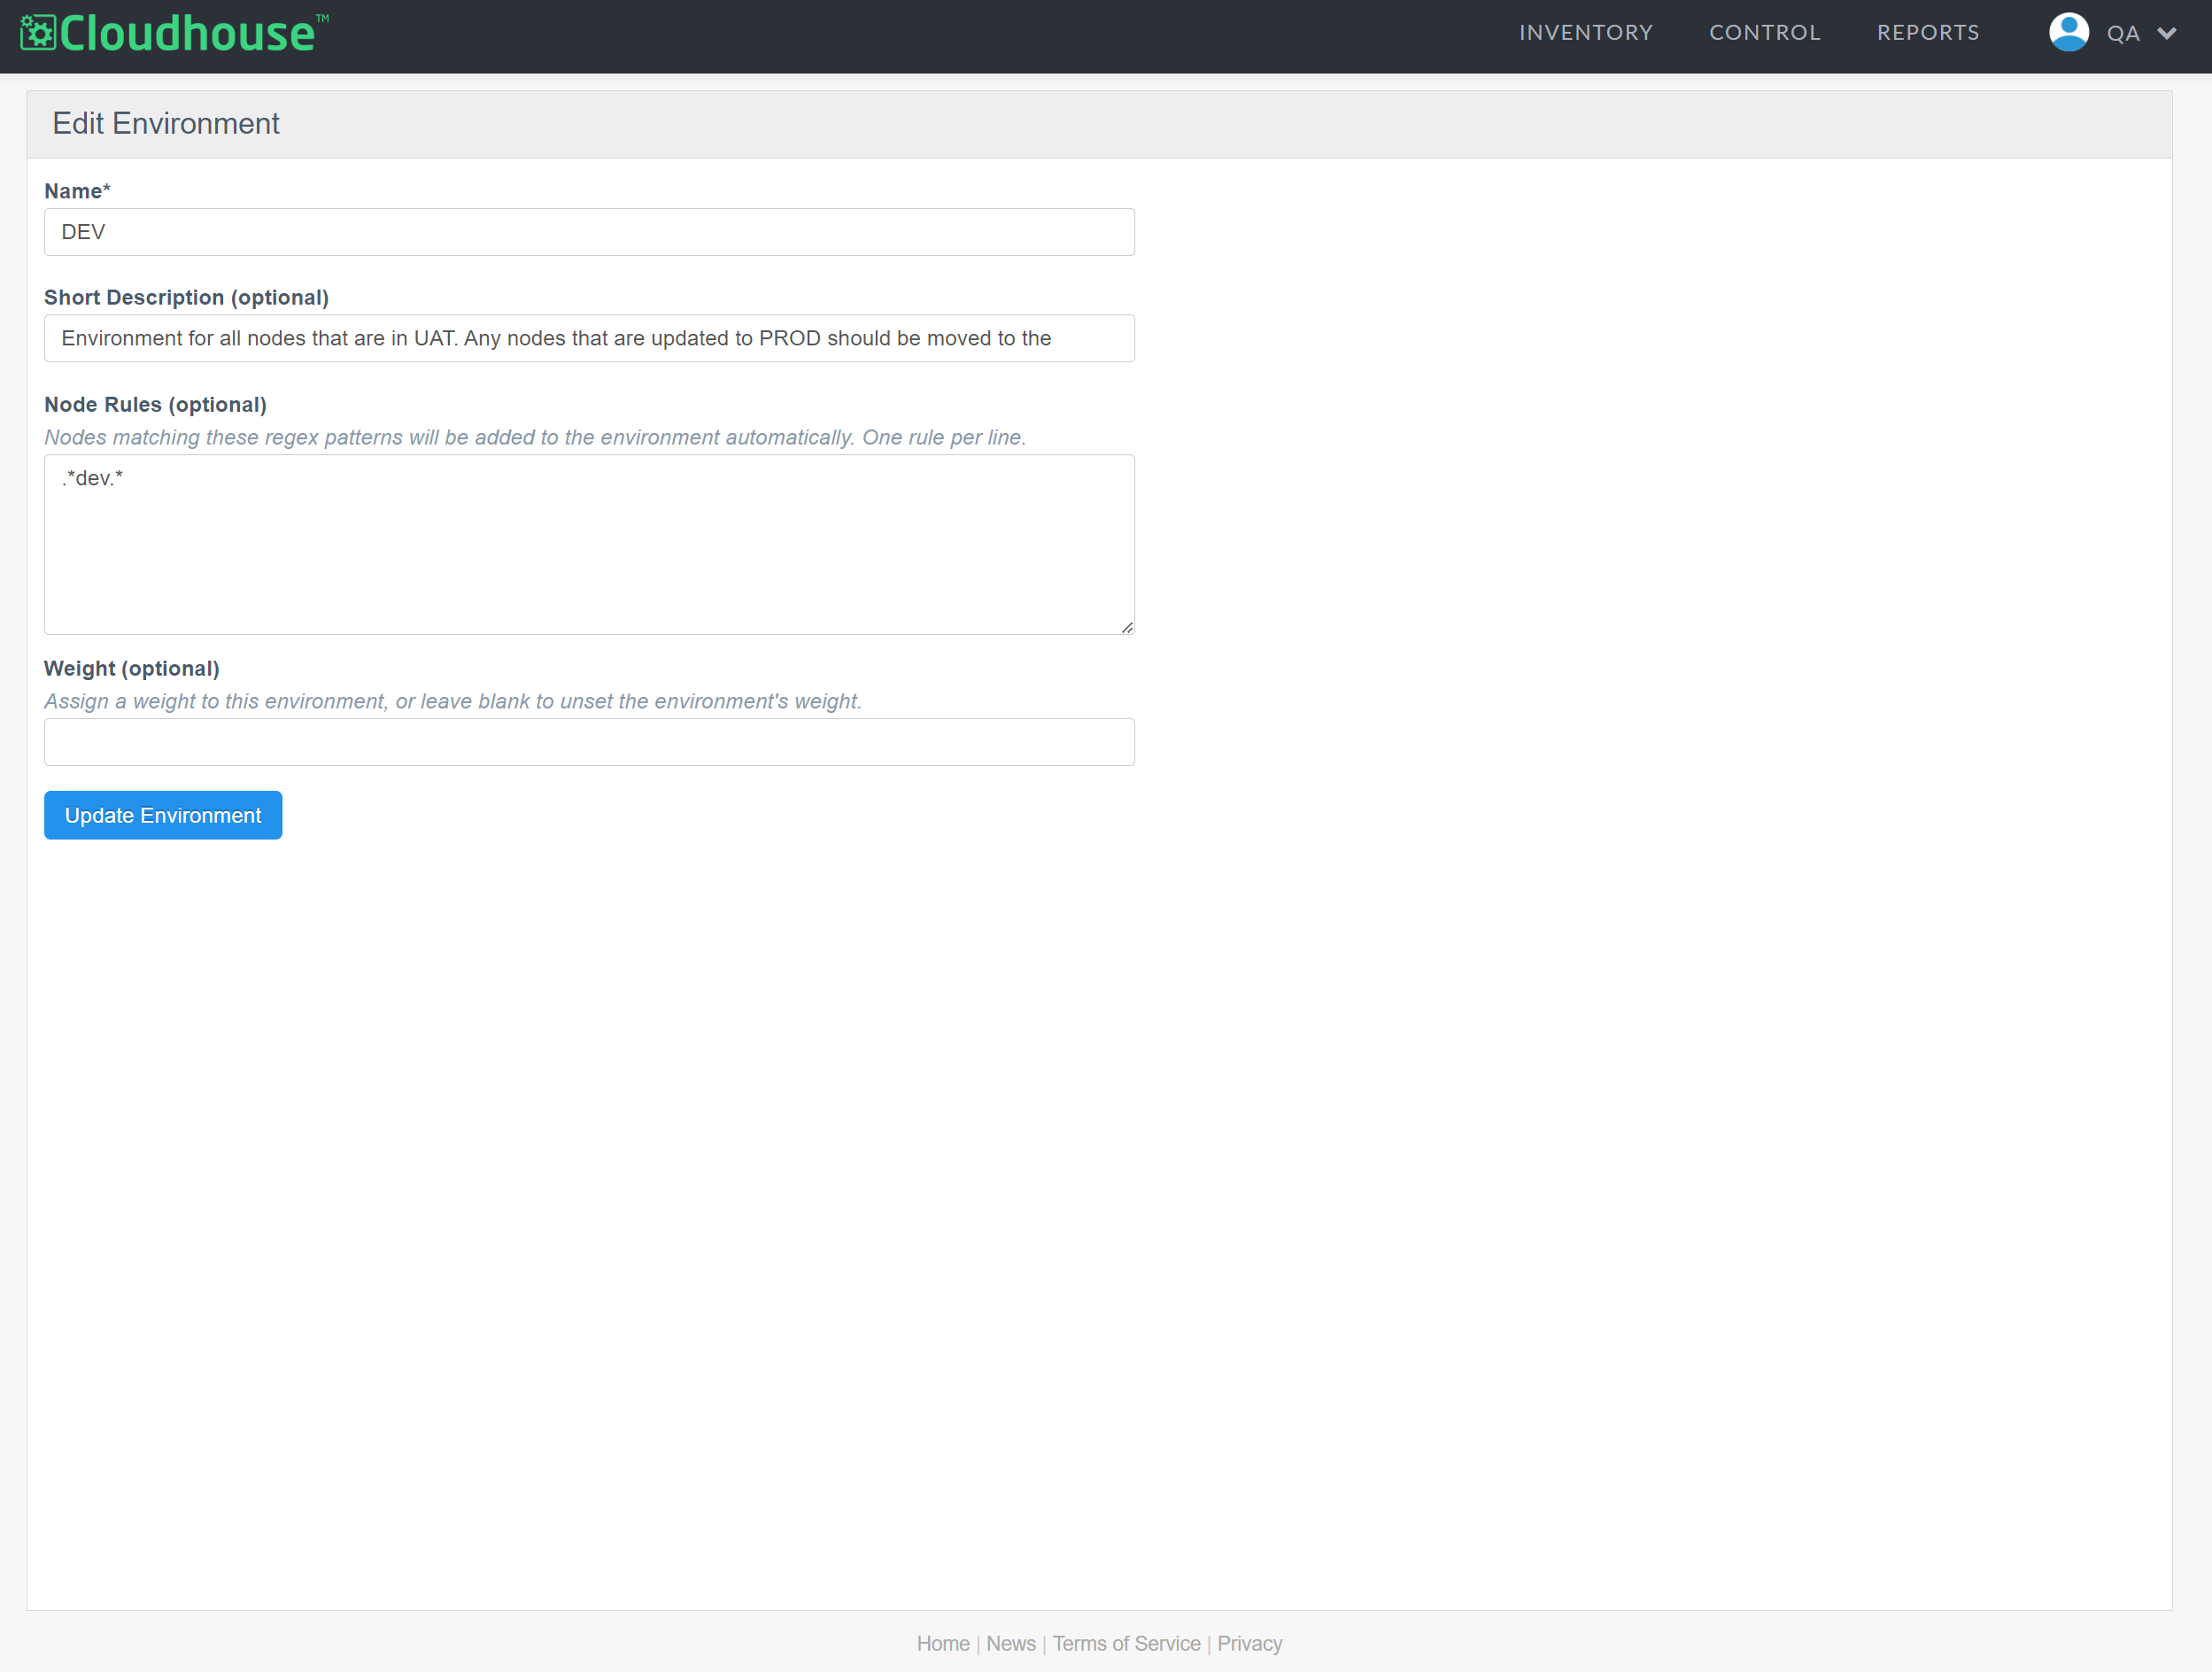
Select Edit from the list of options displayed. The Edit Environment page is displayed.
-
Enter the information required in each of the following sections:
- Name
- The display name for the environment. For example, 'UAT, 'PROD, or 'UK'.
- Short Description (Optional)
- Option to add a short description for the environment, to describe the organisational purpose of the environment. For example, 'Environment for all nodes that are in UAT. Any nodes that are updated to PROD should be moved to the corresponding environment.'
- Node Rules (Optional)
-
Option to use regular expressions to set a rule, or rules, for the environment to automatically add nodes that meet the specified criteria (node name) to the node group. For more information, see Environments.
Tip
Cloudhouse advise that each environment in your Guardian instance has a set of node rules that automatically assign nodes to the corresponding environment. This is the easiest method organising your node set.
- Once complete, click the Update Environment button to save your changes and update the environment.
If successful, a confirmation message is displayed and the environment is updated and displayed. Then, you can begin organising nodes into your environment, see Environments for more information.
Note
If you added node rules, Guardian will automatically start adding nodes that match the regular expression patterns to your environment, if they are assigned to the 'Default' environment and not another custom environment.