Organisation settings#
One Guardian instance can contain multiple unique organisation accounts. Each organisation account has its own configuration settings that can be tailored according to the organisation's purpose and user pool. The Organization Settings page (Account drop-down menu Manage Accounts >select Organization Name) displays the Account Details, Account Configuration, and more settings related to the organisation account. Here, you can configure your settings according to the organisation's needs.
Applies to: Guardian Classic
Account Details#
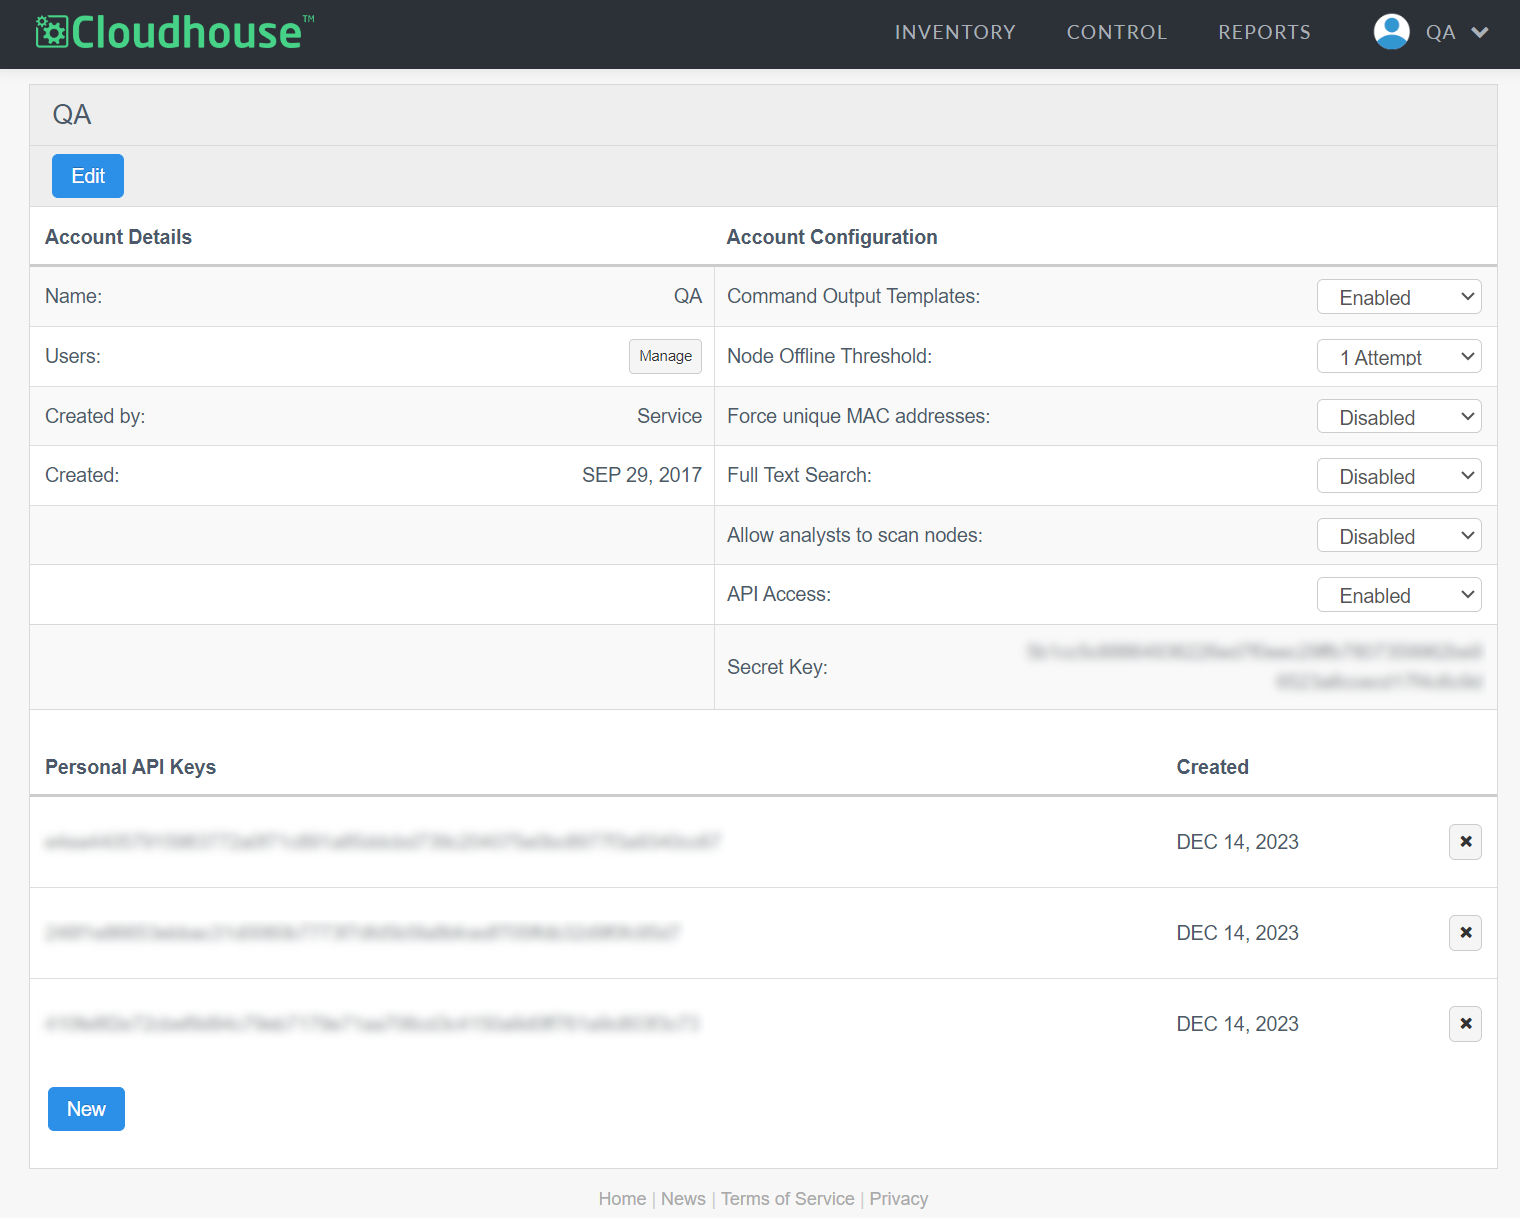
The Account Details section displays information about the organisation and the users who have access to it. Here, the following options are displayed.
- Name field
- The name of the organisation account. To edit the name, click Edit at the top of the page. For more information, see Edit Organisation Settings.
- Users field
- The users of the organisation account. To view each of the users, click the Manage button, see Users for more information. Here, you can invite users to the organisation, remove users, or edit user permissions.
- Created By field
- The user that created the organisation account.
- Created field
- The date that the organisation account was created.
Account Configuration#
The Account Configuration section allows you to access and configure the current settings for your organisation account. Here, the following options are displayed.
- Command Output Templates drop-down list
- Determines whether users of the organisation account can run scans using custom Linux scripts or Windows PowerShell queries. If this option is 'Enabled', any user can run custom output templates to trigger scans at node, node group, or environment level, for example. Alternatively, you can set this option to 'Admin Only', to limit users with the 'Administrator' role the permissions to use this feature only. By default, this option is 'Enabled'.
- Node Offline Threshold drop-down list
- The number of times Guardian will attempt to scan nodes that return an offline result. When scanning large quantities of nodes, a higher selection here can yield more successful scan results. By default, this option is set to '2 Attempts'.
- Force unique MAC addresses drop-down list
- Determines whether two or more nodes in a Guardian organisation can have the same Media Access Control (MAC) address. If this option is 'Enabled', you are unable to add any node with the same MAC address as an existing node in your Guardian database. Similarly, you cannot change an existing node's MAC address to the same address as another node. In both scenarios, an error is displayed and the node is not added/updated. By default, this option is 'Disabled'.
- Full Text Search drop-down list
- Determines whether indexes are created on text files during scans. Indexes can improve performance when searching for text. When 'Enabled', indexes are created and stored as part of scans. When 'Disabled', indexes are not created.
- Allow analysts to scan nodes drop-down list
- Determines whether users with an 'Analyst' role within the organisation are permitted to perform node scans. If this option is 'Enabled', users with the 'Analyst' role are permitted to perform node scans, in addition to 'Administrator' and 'Member' role types. If this option is 'Disabled', only users with the 'Administrator' or 'Member' role can perform node scans. By default, this option is set to 'Disabled'.
- API Access drop-down list
- Determines whether the organisation account can connect to the Guardian API. If this option is set to 'Enabled', the Secret Key field is displayed with the API key required to connect to the Guardian API. For more information on the Guardian API, see Guardian API. By default, this option is set to 'Disabled'.
- Secret Key field (Optional)
-
The API key required to connect the organisation account to the Guardian API. If the API Access field is set to 'Enabled', this field is displayed. If the API Access field is 'Disabled', this field is not displayed.
Note
Disabling and re-enabling API Access will result in a new Secret Key being provided. Therefore, a new connection to the Guardian API will need to be configured if you wish to make use of it again in the future.
API Keys#
To use the Guardian API, in addition to enabling API Access and generating a Secret Key as described in the table above, you also need an API key. This key is located at the bottom of the Organization Settings page, and will either be labelled Service API Key or Personal API Keys depending on whether user-specific API keys are enabled in the organisation.
Service API Key#
By default, all users in a Guardian instance will share an API key. This is called the Service API Key. On the Organization Settings page, you can view the key and reset it if needed. To reset the service API key, click the Regenerate button.
Note
Any connections established using the previous API key will be broken if the key is regenerated. The newly regenerated key must be used to reconnect to the Guardian API.

Personal API Keys#
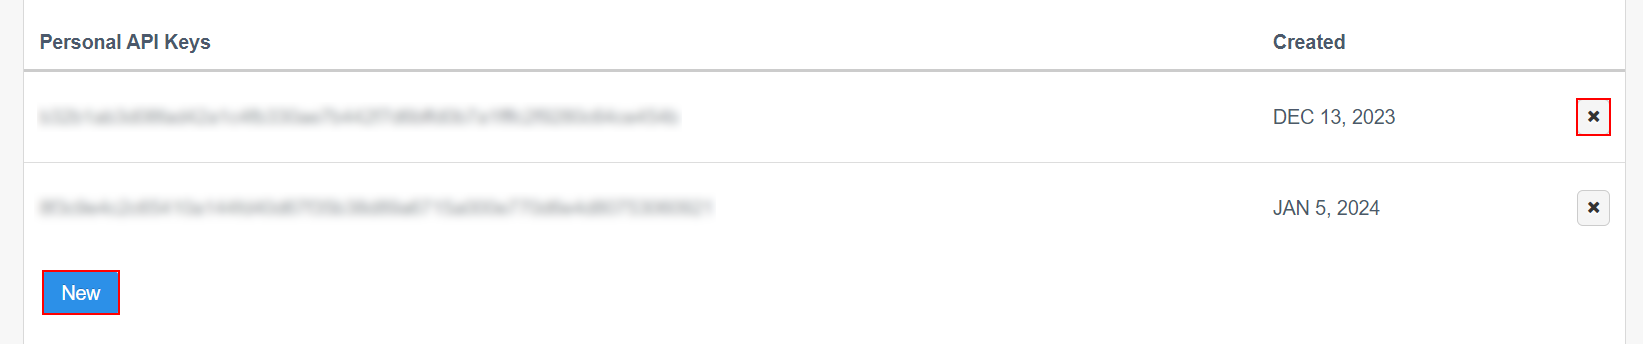
Personal API keys, also referred to as user-specific API keys, are useful as they can help identify which users performed what actions within Guardian. Think of implementing personal API keys as similar to assigning everyone with access to a building their own unique key card. This makes it easier to attribute actions to specific users rather than having all actions attributed to the same API key.
Note
By default, personal API keys are not enabled. For assistance with enabling them in your Guardian instance, contact helpdesk@cloudhouse.com.
Once enabled, you can view, create, and delete personal API keys from the Organization Settings page. Click the New button to create a new key. Or, click the X beside the key you want to delete.
Note
A personal API key cannot be reinstated once it has been deleted. Therefore, any future connections must be reconfigured using a new personal API key.
Edit organisation settings#
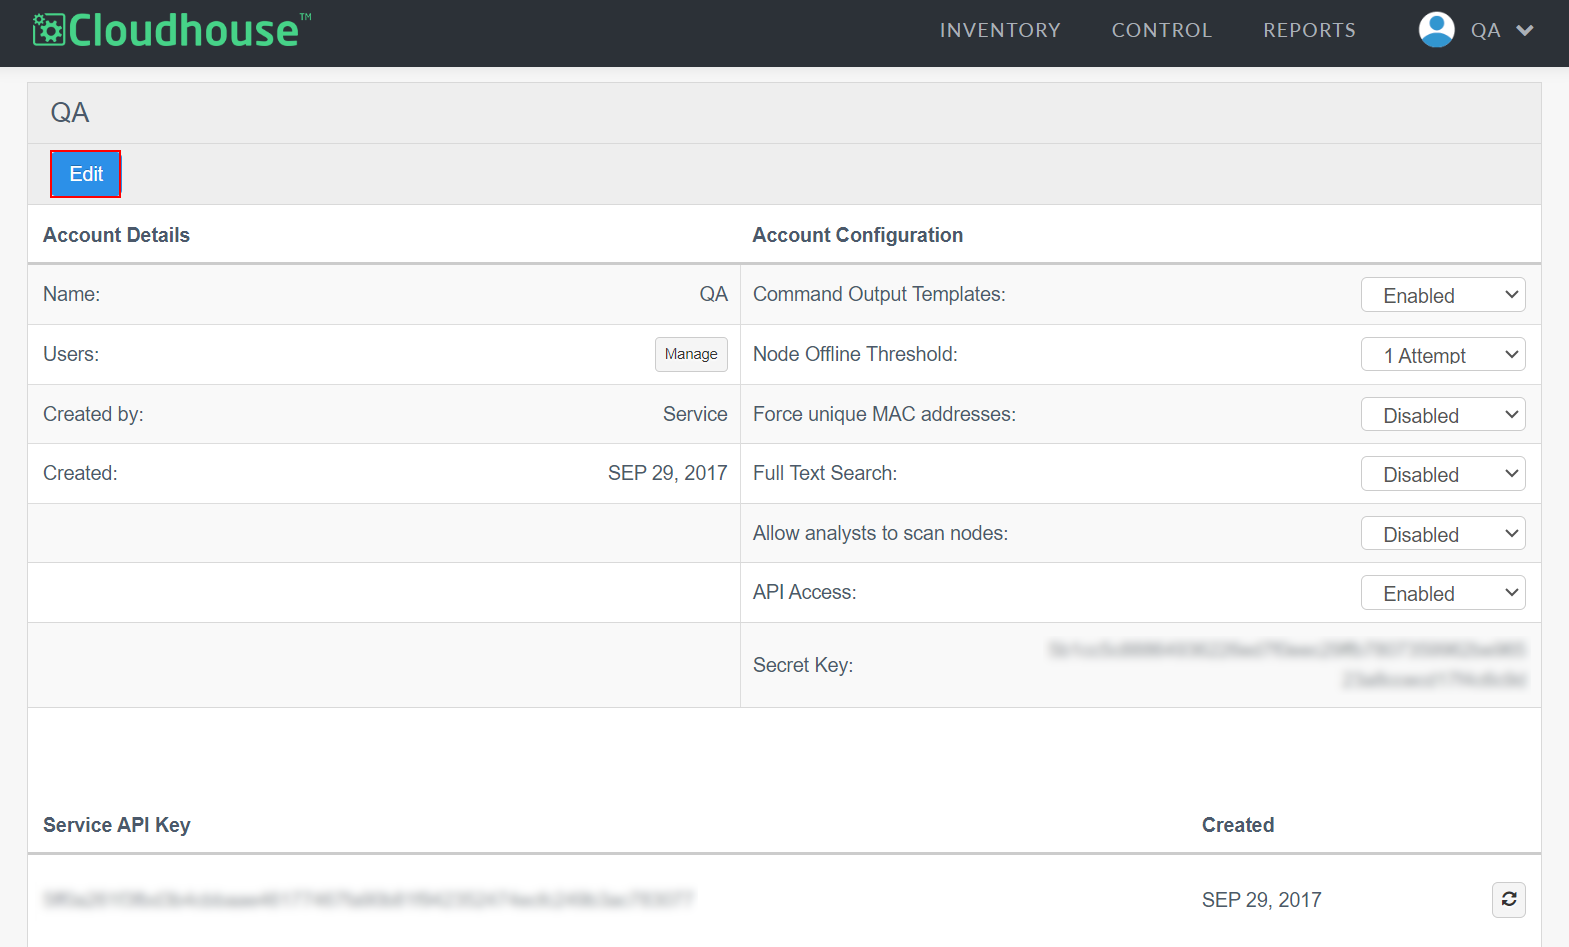
While most organisation settings can be updated on the main Organization Settings page, there are two settings accessed by clicking the Edit button at the top of the page. These settings are Name and Environment Reports. For more information on Environment Reports, see Environment Reports.
To change an organisation's name, complete the following process:
-
Click Edit at the top of the Organization Settings page.
-
Enter a new Name.
-
Click Update Account.
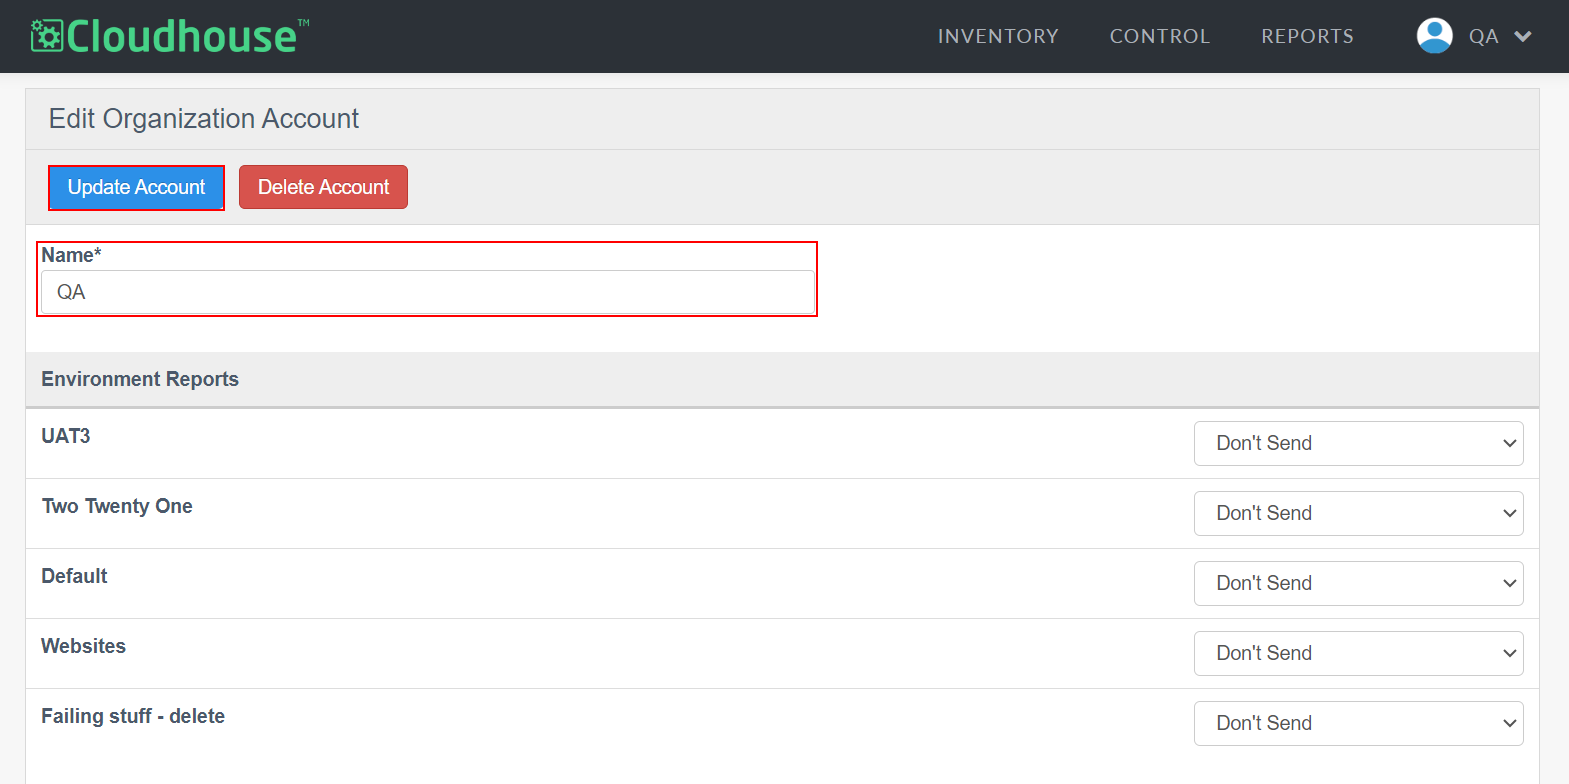
A confirmation dialogue appears stating the organisation has been updated. The new organisation name also appears on the main Organization Settings page under Name.
Environment Reports#
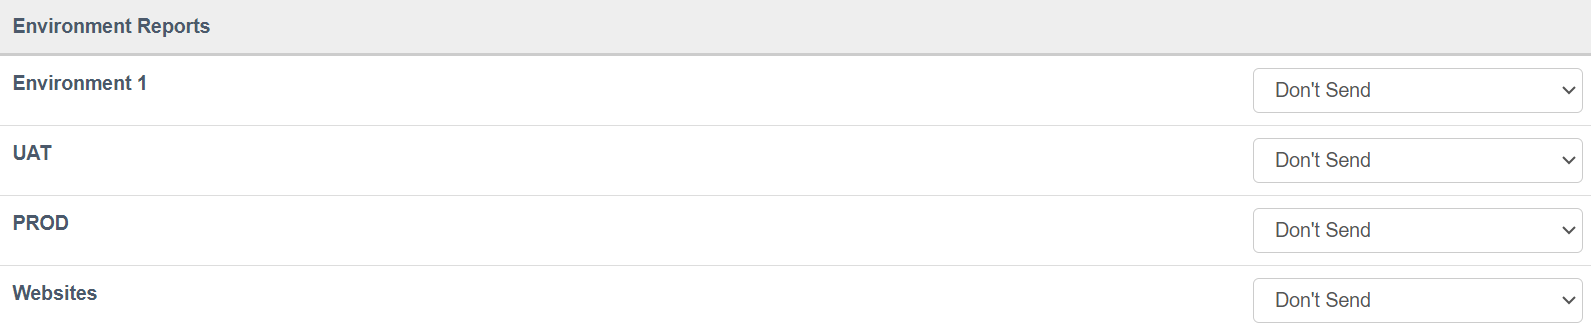
Environment Reports (Organization Settings > Edit > Environment Reports) show reports currently configured for all environments within an organisation account. Here, you can see which reports are being generated as well as the frequency with which they are being generated and sent. If you wish to change how often a report is run, select an option from the corresponding drop-down list.
For more information on environments, see Environments.