
Add a CloudFlare node#
Add a CloudFlare account for agentless scanning. Guardian supports CloudFlare nodes for Agentless scanning.
Applies to: Guardian Classic
Dependencies#
To add a CloudFlare node, the following dependencies must be met:
- Linux Connection Manager – Set up in Guardian. For more information, see Linux Connection Manager.
- Cloudflare Account – Account set up, with the correct permissions.
- Web API – Exposed and scoped according to requirements.
Add a CloudFlare node#
Adding a CloudFlare node to your Guardian instance lets you monitor and track the configuration of a CloudFlare service.
To add a CloudFlare node for Agentless scanning, complete the following steps:
-
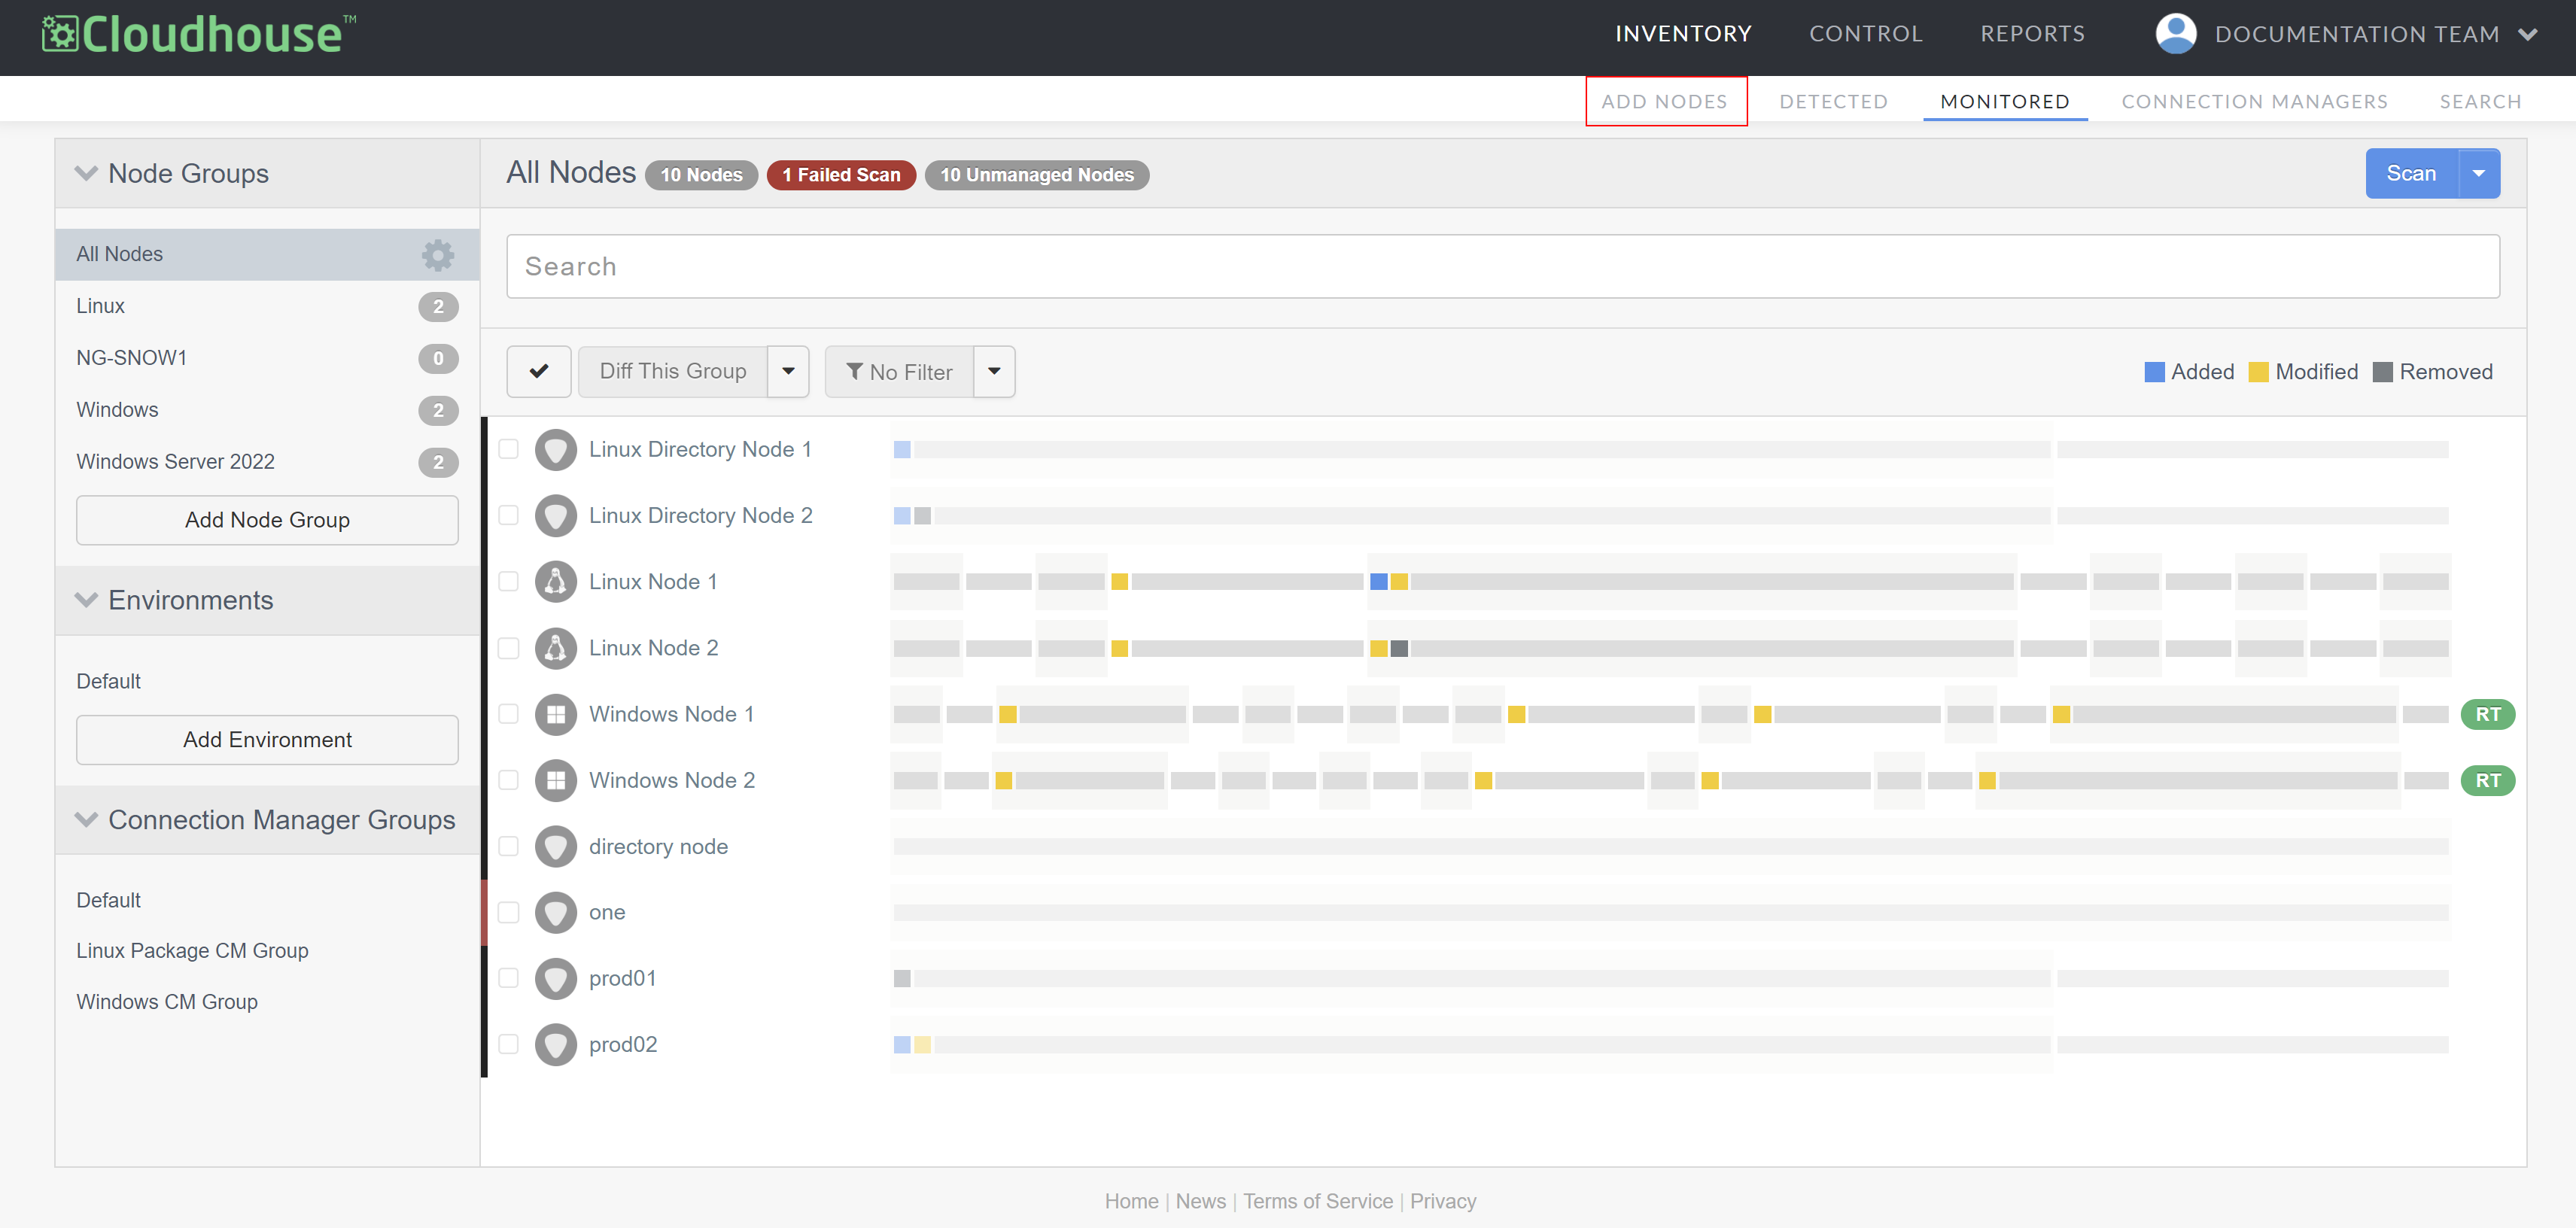
In the Guardian web application, navigate to the Add Nodes tab (Inventory > Add Nodes). The Add Nodes page is displayed.
-
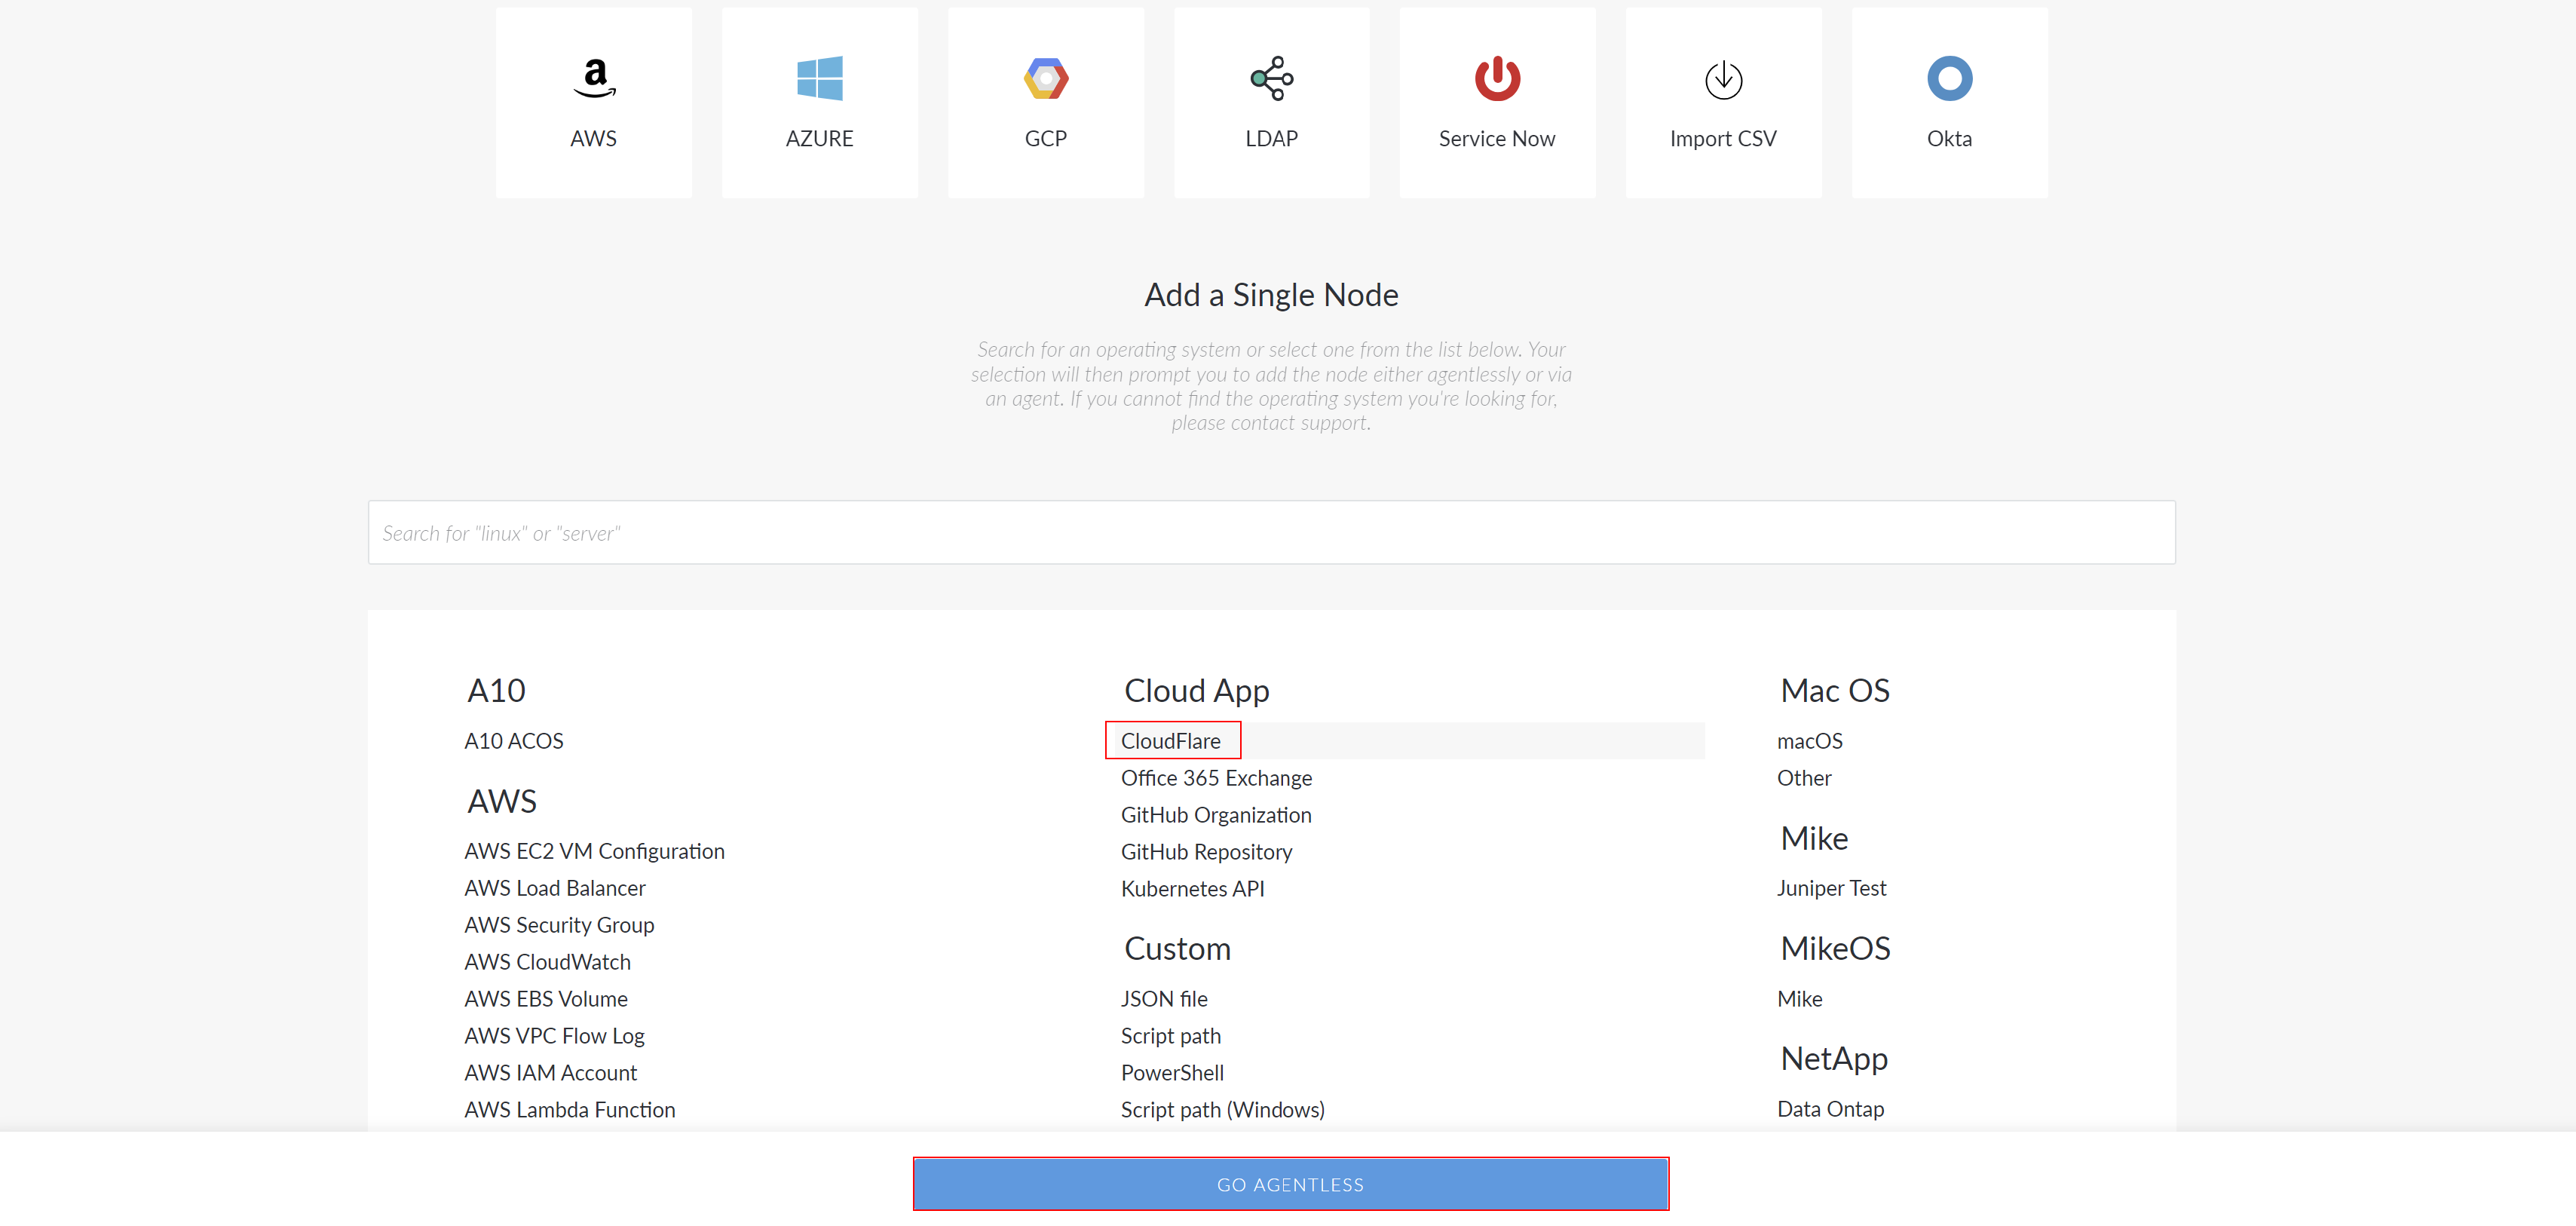
Select 'CloudFlare' from the list of node types and click the Go Agentless button to proceed. The Connect Agentlessly to [Node Type] page is displayed.
-
Here, complete the following options:
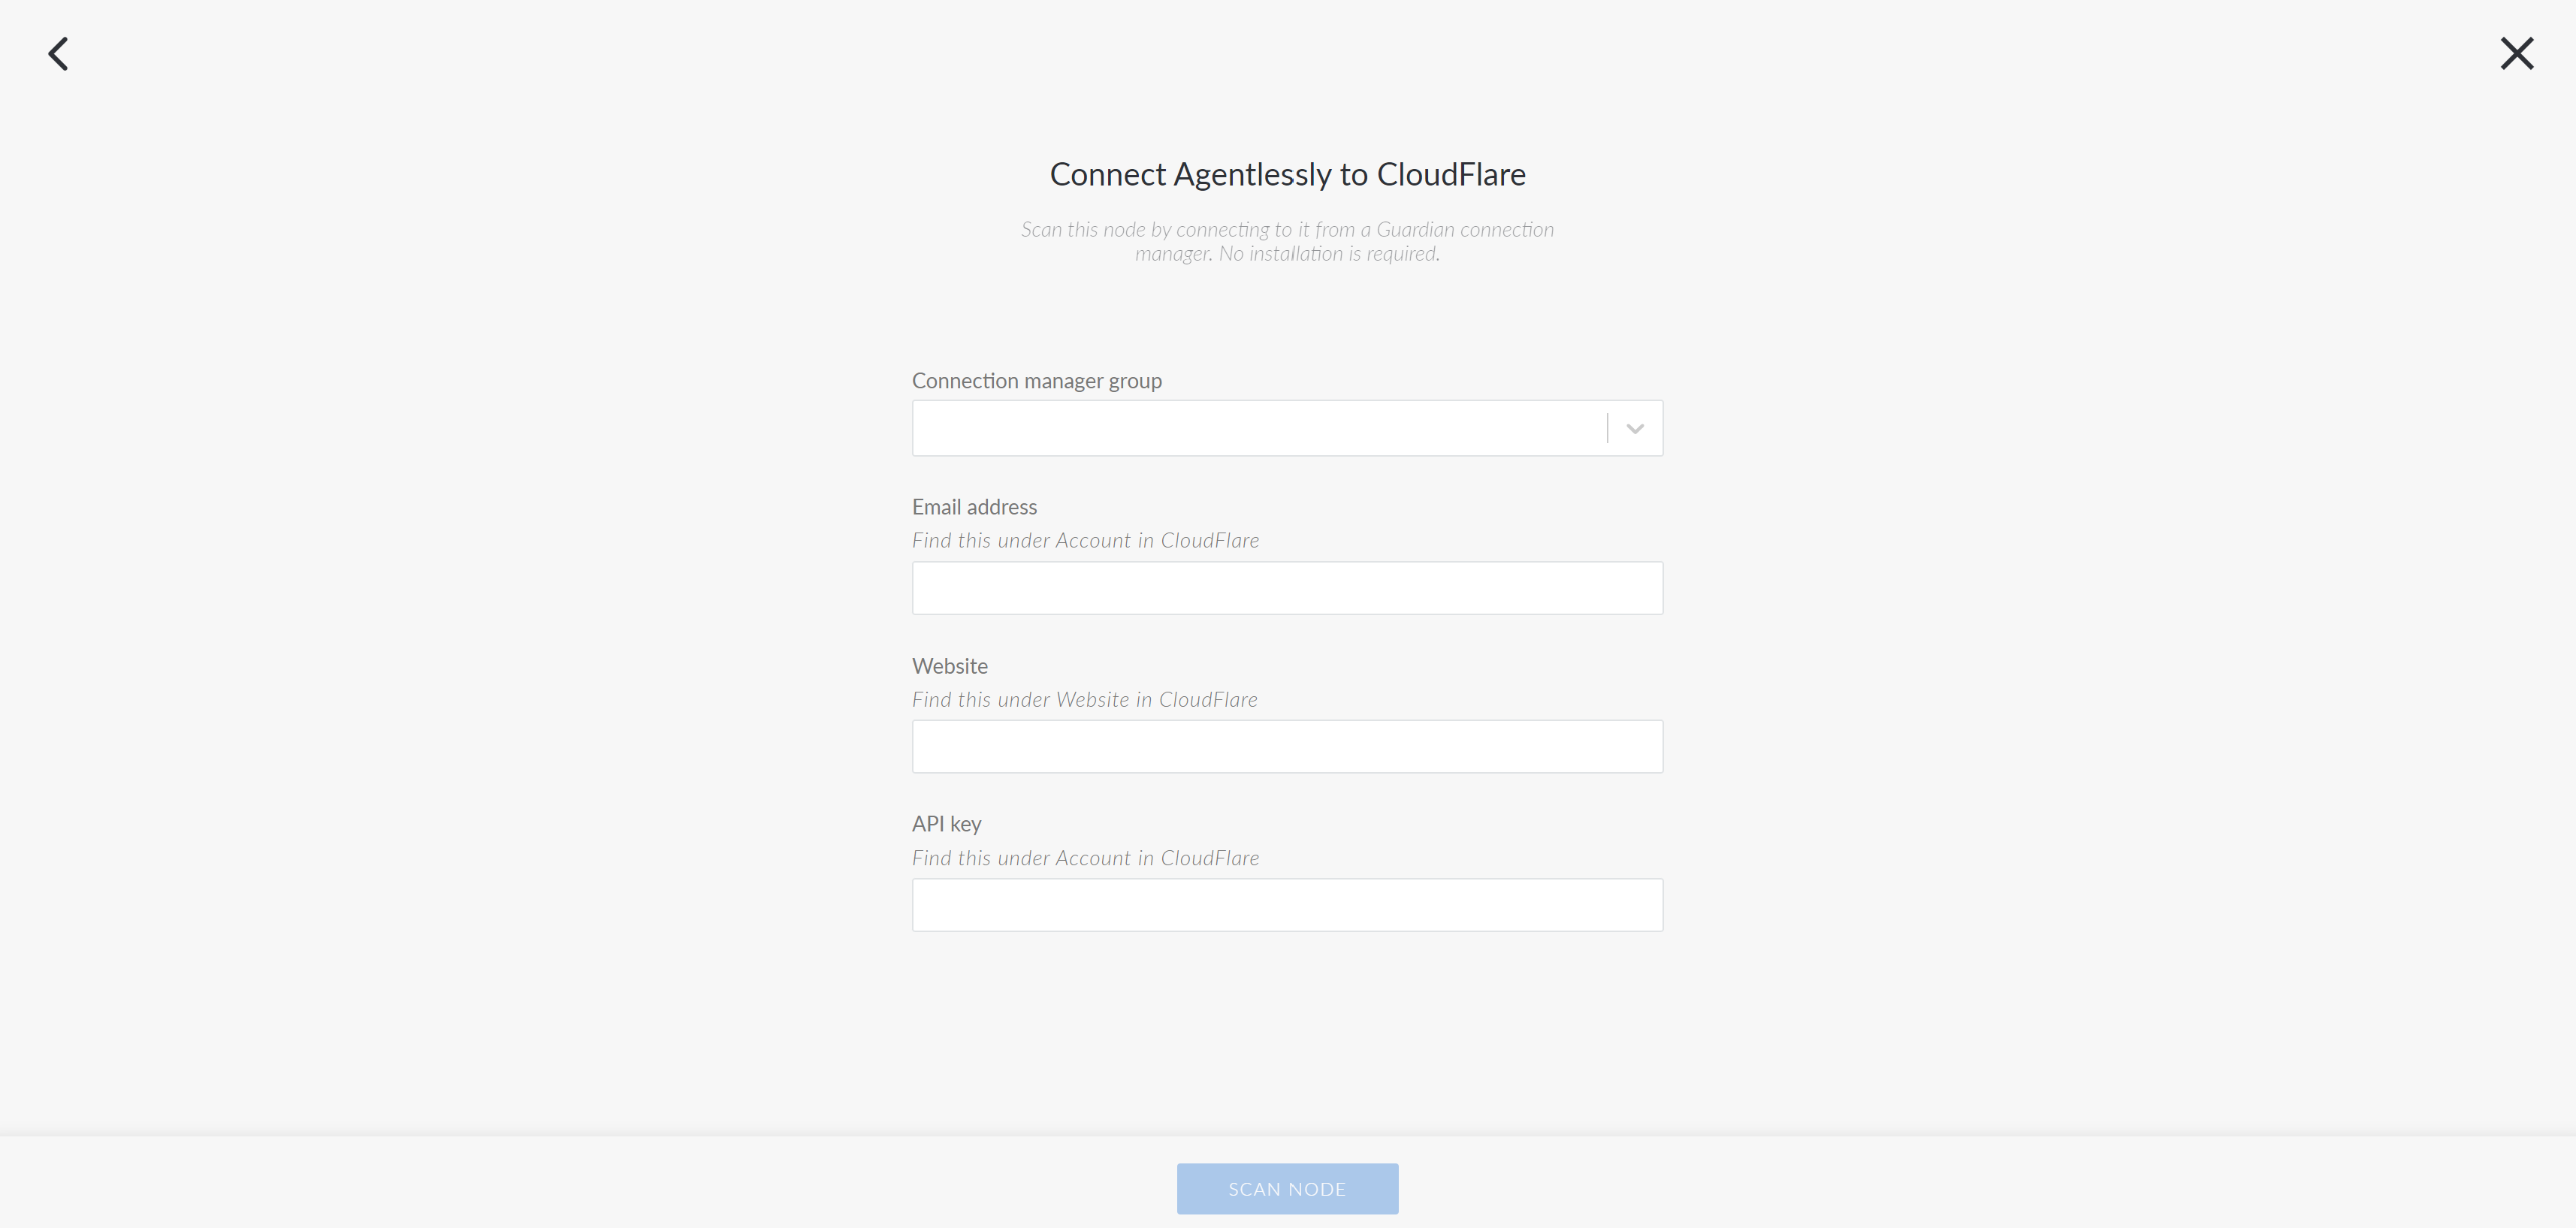
- Connection Manager group drop-down list
- The Connection Manager group that is responsible for scanning your CloudFlare node. Select a Connection Manager group from the drop-down list.
- Email address field
- The email address associated with the API key.
- Website field
-
The domain (website) you want to monitor. In CloudFlare, the domain is listed on the My Websites page (Dashboard > Websites > My websites). Enter the domain as it appears in CloudFlare, without any protocol fixes. For example, 'mywebsite.com'.
Note
If you want to add multiple websites to Guardian, you need to add each website as an individual node.
- API key field
-
The API key required to authenticate calls to the CloudFlare API. In CloudFlare, the API key is listed on the API Tokens page (Dashboard > User Profile > API Tokens > API Keys section > Global API Key > click View).
Note
All calls to the CloudFlare API are rate-limited to 1,200 every 5 minutes.
- Once you've completed the above options click Scan Node to add the CloudFlare node to your Guardian instance.
Now, Guardian performs an initial scan of the node. You can wait on this page for the scan to finish, at which point you will see a View Scan button. To view the results of this initial scan, click View Scan. However, you can also navigate elsewhere while Guardian performs its initial scan of the node. You can then view the status of the scan on the Job History page (Inventory > Job History). For more information on what to do next after adding a node, see below.
Troubleshooting#
Once you've scanned the CloudFlare node, if you receive an error in the Scan Report, you may want to troubleshoot the node's configuration. The following section describes how to troubleshoot the node parameters via cURL.
CloudFlare cURL#
The following table describes the CloudFlare cURL values.
| cURL | Guardian Field |
|---|---|
| Email address | |
| a | Website |
| tkn | API key |
Retrieve the list of domains#
To retrieve the list of domains, run the following script in a terminal window on the node.
Note
'-d' sets the POST parameter. The backslashes are only used to continue the command over multiple lines.
curl https://www.cloudflare.com/api_json.html \
-d 'a=zone_load_multi' \
-d 'tkn=8afbe6dea02407989af4dd4c97bb6e25' \
-d 'email=sample@example.com' \
Retrieve DNS records of a given domain#
To retrieve the DNS records of the CloudFlare node's domain, run the following script in a terminal window on the node.
Note
'-d' sets the POST parameter. The backslashes are only used to continue the command over multiple lines.
curl https://www.cloudflare.com/api_json.html \
-d 'a=rec_load_all' \
-d 'tkn=8afbe6dea02407989af4dd4c97bb6e25' \
-d 'email=sample@example.com' \
-d 'z=example.com'
Where next#
- Read Node Scan Results What every scan of a node collected.
- Organise Node groups Group nodes by type, location and more.
- Tune Scan options Choose what each scan collects.
- Compare Configuration differencing Compare nodes, groups and scans.
- Govern Policies Define the configuration you expect.
- Connect Integrations Sync nodes and act on events.